When you find yourself with a flat tyre, it can be frustrating and stressful, especially if you are on the go. But with the convenience of mobile tyre fitting services, you can have a spare tyre installed quickly and efficiently.
Whether it is a same day mobile tyre fitting London or you are in need of 24 hour tyres in London, the following steps will guide you through the process.
Step 1: Find a Safe Spot
Ensure that you park your vehicle in a safe location away from traffic. Look for a level and stable surface, such as a parking lot or the side of the road with ample space. This step is crucial to ensure your safety and the safety of other road users while performing the mobile tyre fitting.
Step 2: Gather Tools and Equipment
Before starting the tyre replacement process, gather all the necessary tools and equipment. Check that you have a spare tyre in good condition, a jack specifically designed for your vehicle, a lug wrench, and your vehicle owner’s manual. Having all these tools readily available will make the process smoother and more efficient.
Step 3: Loosen the Lug Nuts
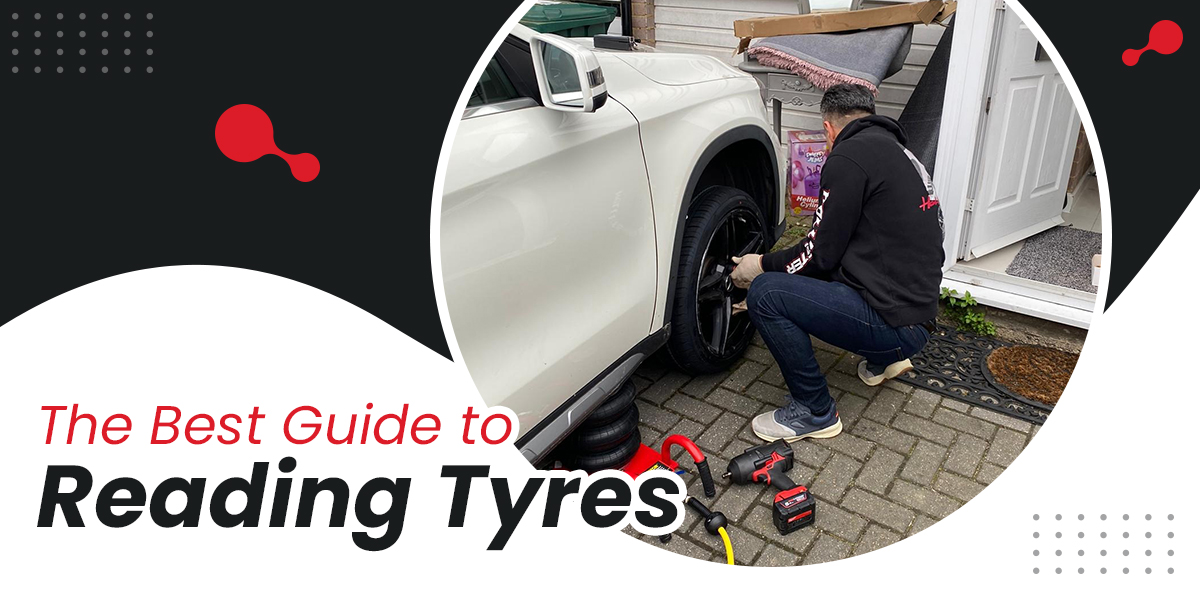
Using the lug wrench, start by loosening the lug nuts on the flat tyre. It is easier to loosen them while the weight of the vehicle is still on the tyre. Loosen each lug nut by turning them counter clockwise, but avoid removing them completely at this stage.
Step 4: Position the Jack
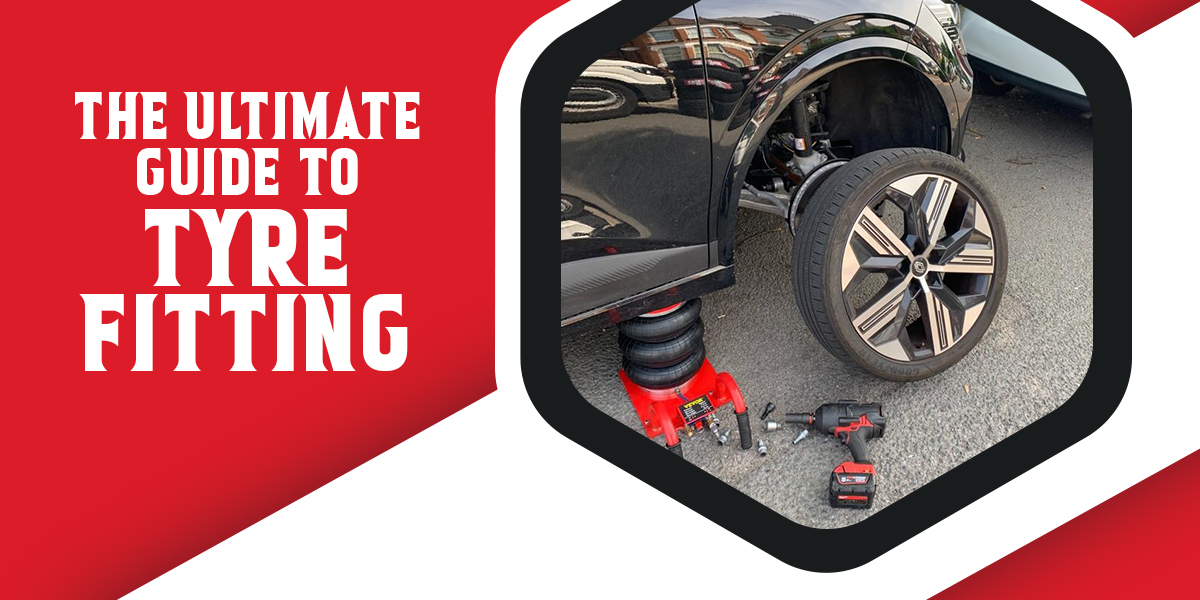
Your vehicle owner’s manual dictates whether the proper jack points are. These are specific areas on the underside of your vehicle where the jack should be placed to ensure safe and effective lifting. Position the jack beneath the vehicle frame, ensuring it is firmly seated on a solid surface.
Step 5: Lift the Vehicle
Start pumping the handle or using the provided mechanism to raise the vehicle with the jack properly positioned. Lift it until the flat tyre is off the ground but still in contact with the surface. Make sure you lift the vehicle steadily to maintain stability.
Step 6: Remove the Lug Nuts
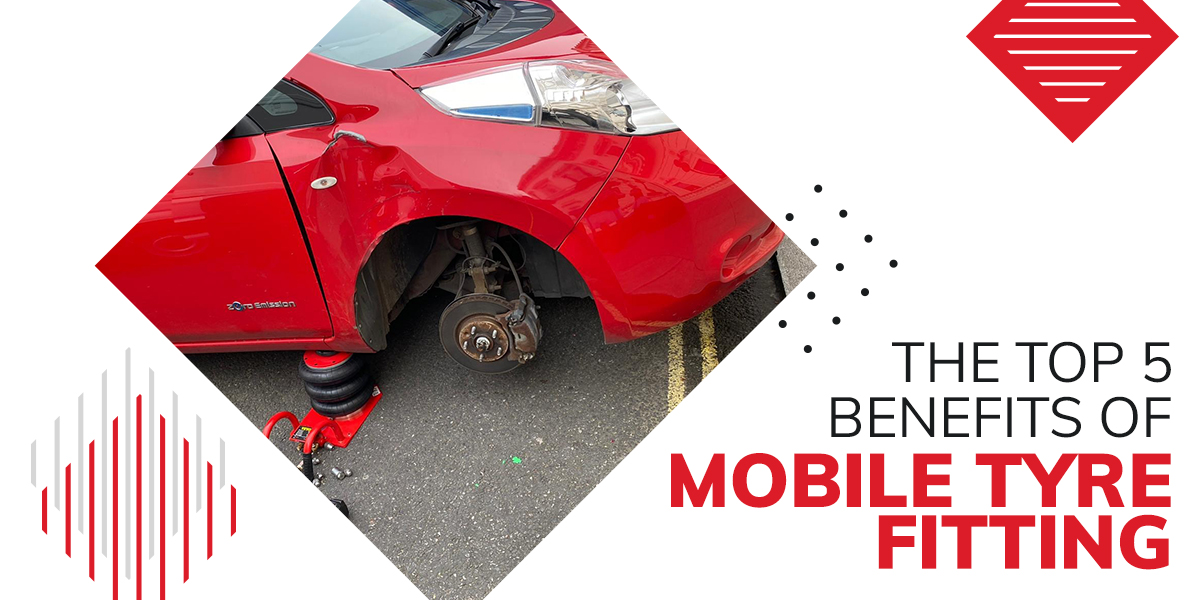
Now that the vehicle is lifted, you can completely remove the loosened lug nuts using the lug wrench. Place them in a secure location, such as a nearby flat surface, to prevent misplacement. Keep track of the lug nuts as you will need them to secure the spare tyre later.
Step 7: Remove the Flat Tyre
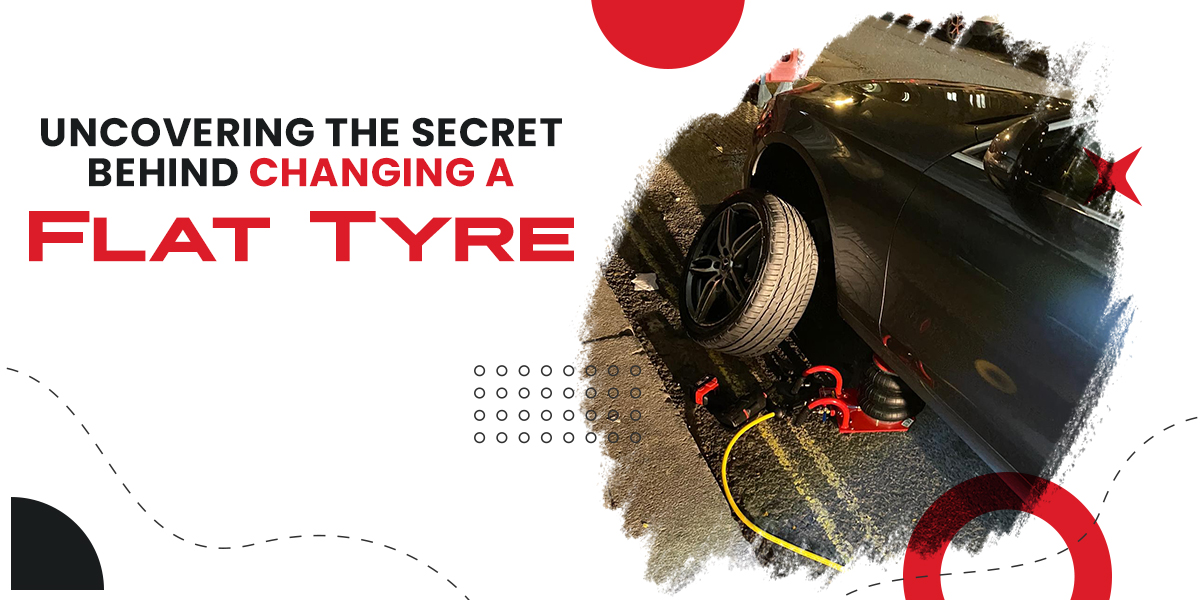
Gently pull the flat tyre straight toward you. Thus, you will be able to remove it from the wheelbase. Be mindful of the weight and size of the tyre. Place it aside, making sure it would not pose a hazard to others. Inspect the wheelbase for any debris or damage before proceeding.
Step 8: Mount the Spare Tyre
Position the spare tyre onto the wheelbase by aligning it with the wheel studs. Push it onto the studs until it fits snugly against the vehicle. Ensure that the valve stem on the spare tyre is facing outward for easy inflation and deflation when necessary.
Step 9: Secure with Lug Nuts
Begin securing the spare tyre by hand-threading the lug nuts onto the wheel studs. Start with one lug nut and work in a diagonal pattern, moving to the lug nut opposite it. Gradually tighten each lug nut by hand until they are all snug.
Step 10: Lower the Vehicle
Using the jack, carefully lower the vehicle until it rests securely on the ground. Ensure that the weight of the vehicle is fully supported by the spare tyre. Once the vehicle is lowered, remove the jack and place it in a safe location.
Step 11: Tighten Lug Nuts
Now that the vehicle is on the ground, use the lug wrench to fully tighten the lug nuts. Begin with the lug nut that you initially tightened by hand and follow the same diagonal pattern. Tighten each lug nut firmly, but avoid excessive force that may damage the studs.
Step 12: Inflate the Spare Tyre
Before driving on the spare tyre, ensure that it is properly inflated to the recommended pressure. Refer to your vehicle owner’s manual or the spare tyre itself for the correct PSI (pounds per square inch). Use a tyre pressure gauge and an air compressor to inflate the spare tyre to the appropriate level.
Step 13: Stow Away the Tools
Now that the spare tyre is securely mounted and inflated, gather all the tools used during the mobile tyre fitting process. Place them back in their designated locations, such as the trunk or storage compartment, for easy access and future use. Keeping the tools organized ensures that they are readily available when needed.
Step 14: Check the Tightness of the Lug Nuts
After driving for a short distance with the spare tyre, recheck the tightness of the lug nuts. Park the vehicle in a safe location, engage the parking brake, and use the lug wrench to ensure that all the lug nuts are still securely tightened. This step is crucial for maintaining proper wheel alignment and stability.
Step 15: Schedule a Tyre Replacement
Remember that a spare tyre is intended for temporary use only. Schedule a tyre replacement as soon as possible to ensure optimal safety and performance. Contact a mobile tyre fitting service to arrange a convenient time and location for a professional tyre replacement. They will have the expertise to handle the installation of a new tyre quickly and efficiently.
Step 16: Properly Store the Flat Tyre
If the removed flat tyre is repairable, have it inspected and repaired by a qualified tyre professional. If it is irreparable, consider consulting with a professional regarding proper disposal or recycling options. Storing a damaged tyre can lead to safety hazards and potential environmental issues.
Step 17: Maintain Regular Tyre Inspections
To prevent future flat tyres and ensure optimal tyre performance, maintain regular tyre inspections. Check your tyres for signs of wear, bulges, cuts, or uneven tread wear. Monitor the tyre pressure regularly and have your tyres professionally rotated and balanced as recommended by the vehicle manufacturer.
Always prioritize your safety and be aware of your surroundings. If you are unsure or uncomfortable performing the tyre replacement yourself, it is always wise to contact a professional mobile tyre fitting service who can assist you with expertise and efficiency.
At 24hr Mobile Tyre Fitting London, we encourage you to take the next step and consult one of our professional technicians who can get you the right advice based on your unique needs.


